WordPress has been the most-used content management system over the years, as it is estimated to have a 64.2% market share among other CMSs. The fact that users without coding expertise can build and launch websites with a few clicks has been one of the biggest attractions.
WordPress also has a directory with thousands of themes that users can customize to suit their needs. There also exist thousands of plugins that website owners can use to extend the functionality of their sites.
A featured image on your pages and posts is one of the things you have to consider if you want your WordPress website to be unique, attractive, and visually appealing.
However, you must also ensure that this featured image has the right dimensions. If the featured image is too small, people will not see it.
On the other hand, if this image is too big, it will not fit on smaller screens like smartphones and tablets. In this article, I will discuss how to change the size of the featured image on WordPress and why it matters.
What are Featured Images?
A featured image is a visual representation of your page or post. This image is visible before the title and also, at times, known as the header image. Such an image will appear at the top of your posts on your WordPress site.
A featured image will also appear when you share the posts/page to third-party sites like social media platforms.
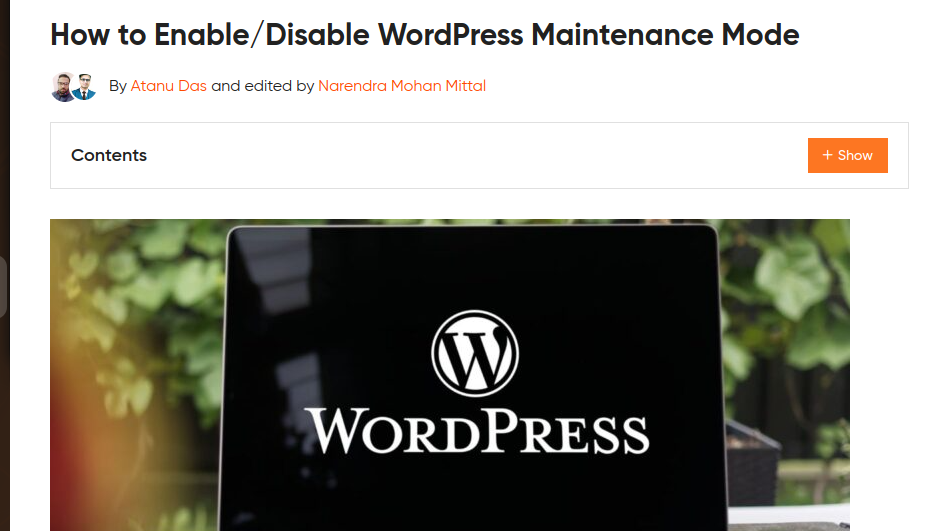
To illustrate how a featured image works, I have used “WordPress” as my search phrase on Geekflare.com. My idea was to get all WordPress articles on our website. From this screenshot, you can see the featured image appears just before the title:

However, when you open a post, the featured image will appear after the title but just before the introduction.
Why are Featured Images Important?
The appearance of the featured image will depend on the theme or customization. Why are featured images important in a post/page? Can we have posts without featured images? These are some of the reasons why you need a featured image:
- Visual appeal: Featured images are meant to make your content more engaging and attractive to your customers. If you select a good image to be your featured image, you will create a good impression and encourage users to interact with your content.
- Social sharing: The online world works best when you cross-share your content on different platforms. The featured image will appear when you share your post/page on social media. An attractive featured image will increase the likelihood of social media users interacting with your content.
- Content structure: A good website should be well-structured. Images and other visuals help break content into bits and make it more readable. You can combine featured images with other types of images in your long-form articles.
- Thumbnail generation: A thumbnail is a visual representation that offers a quick overview of what you will find in a post. Featured images can be used as thumbnails in post archives and listings.
- SEO benefits: Search engines consider a lot of things when ranking websites. You can add your focus keyword in the alt text of your featured image and make it discoverable by search engines.
What is the default size of a featured image on WordPress, and why would one want to change it?
When you take raw images using your camera or download stock photos, they may not be optimized or correctly sized to be featured images. In most cases, WordPress will pick the default size of the source image as the size of the featured images.
Unfortunately, this may not fit various use cases, and you should thus set your featured images to something close to 1200 x 628 pixels.
These are some of the reasons why you should change the size of the featured image:
- Optimize web page load speeds: The nature of the content and graphics you have on your website affects the overall loading speed. Optimizing the size of your images ensures that you don’t overload the servers and lead to poor speeds.
- SEO benefits: Search engines consider things like loading speed and user experience when ranking websites. Resizing featured images ensures that your pages load fast and images are responsive to different screen sizes.
- Improve visual appeal: Optimizing your images is the first step towards creating a good impression of your website. Always ensure that you optimize your featured images, as they are the first thing people interact with.
Some themes don’t allow you to set up a featured image on a single post by default. You don’t want to miss out on the benefits of having a featured image on your posts, do you? Luckily, you can still show featured images on a single post on WordPress through manual twerking.
How to Change WordPress Feature Image Size
The appearance of your website will depend on the theme you are using. The choice of editor is also an important consideration as you resize your featured images. For demonstration purposes, I will be using a website running on Newspaperex and using the WordPress Classic editor. I will also use an image from Pixabay and will download one with 1280*853 pixels.
Follow these steps:
#1. Add a new post: Assuming you are already logged into your WordPress site, at the top, look for ‘+New’ and click on ‘Post’.

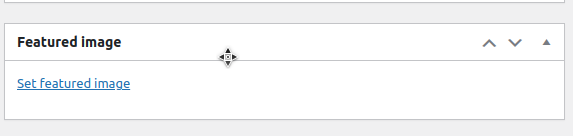
#2. Set a featured image: I am editing a post on my drafts; I will skip other tasks like adding a title and the content. I will scroll to the bottom and click on the ‘set featured image’.
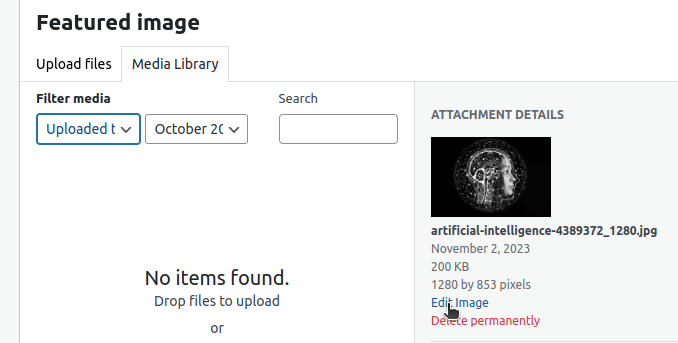
I will click on the ‘upload files’ icon since I have already downloaded the image on my computer.

#3. Resize the image: After uploading my featured image, WordPress automatically picked 1280*853 pixels as its dimensions. However, I want to set my image to have 1200 * 628 pixels. I can now click ‘Edit Image’.
I will then click on ‘Scale’.
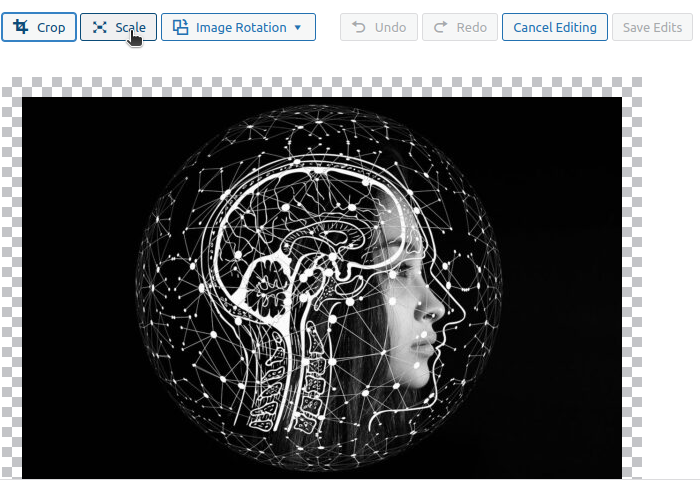
I can now adjust the dimensions to 1200 * 628 pixels.

Save your changes and publish your post.
Alternative Approaches to Resize Your Featured Image
Editing the dimensions of the image in WordPress is one of many approaches you can use to resize your featured images. These are other approaches:
#1. Online tools
You can upload “ready-to-publish” featured images after resizing them using online tools. If you want to set up your featured post, you can set it to 1200 * 628 pixels using an online tool like Adobe Express, download it, and upload it on your WordPress without further modifications.
The choice of the tool will depend on the usability. You can also use some of these tools to compress your images and reduce the loading time.
#2. Using CSS
Most WordPress website users don’t write CSS to style their applications. However, if you know some bit of CSS, you can resize your featured image without much struggle. This involves writing custom CSS in the styles.css sheet.
The first thing you need to identify is the class that contains the featured image. You can then highlight the dimensions of the featured image in that class. For instance, if we have a class known as high-flyers and we want to add our custom CSS code, this is what we shall have:
high-flyers img {

    width: 100%; /* Make the image fill its container */
    height: auto; /* Maintain aspect ratio */
    max-width: 1200px; /* Limit the image width to 1200 pixels */
    max-height: 628px; /* Limit the image height to 628 pixels */
}
#3. Using PHP
WordPress is designed to cater to both developers and non-developers. You can resize your featured images by editing PHP code if you are a good PHP developer. The best approach to editing your PHP files is by using child themes so that changes will not be lost when you update your parent theme.
You must be conversant with WordPress folder and file structure if you want this approach to work. Locate functions.php in your child theme and add this code:
However, you should be cautious, as a simple mistake can take your entire website down.
How to Change WordPress Image Sizes
A featured image is not the only type of image you will have in your post/page. A typical post will have different images, and their dimensions differ. Different themes may have different dimensions set by default. You can set how the images will appear on your website on your WordPress dashboard.
On your WordPress dashboard, navigate to “Settings” and click on “Media.”

You can now change different things like thumbnails, Max Width, and Max Height of medium-size and large-size images. After making the changes, click ‘save’.

Conclusion
We can’t stress enough the importance of having featured images on your posts and pages. We hope you understand how to resize featured images and why it is important.
The choice of approach will depend on your skills and preferences. Ensure that you pick the right image as its look and meta details will signal users to either take your website seriously or not.
You may also explore some awesome featured image generators.